
Hands-on IoT and Smart Automation with NodeMCU
4.5
256 students
Dive into the world of connected technology with our Smart Automation with NodeMCU course, designed exclusively for Grade 9–10 students. This hands-on program introduces young innovators to the exciting field of the Internet of Things (IoT), where everyday devices can sense, communicate, and respond intelligently.
Through interactive sessions, students will explore how to program the NodeMCU board using Arduino IDE, connect sensors and actuators, and transmit real-time data to the cloud. From blinking LEDs and reading environmental data to building weather monitoring systems and smart automation projects, learners gain practical skills in both hardware and software.
By the end of this course, students will not only understand IoT fundamentals but also develop their own automation projects—preparing them with future-ready skills in smart technology, coding, and innovation.
What you will learn?
- Understand the fundamentals of IoT and real-world applications.
- Set up and program the NodeMCU board using Arduino IDE.
- Work with digital inputs/outputs (LEDs, push buttons).
- Read data from sensors like DHT11 (temperature & humidity) and Ultrasonic sensor.
- Display live sensor readings on an OLED screen.
- Control devices using PWM, motors, and relays.
- Build complete IoT projects like a Weather Monitoring Station or Smart Door/Light System.
- Send real-time sensor data to cloud platforms like Thingspeak.
Course Curriculum
Session 1:Introduction to IoT & NodeMCU
Session 2: Digital Outputs
Topics Covered:
- Introduction to key electronic components:
- Resistors
- LEDs
- Batteries
- Switches
- Buzzers
- Understanding polarity, ratings, and the function of each component
Learning Outcome:
Students will be able to identify and handle basic electronic components and understand how each functions within a circuit.
Duration: 1 Hour
Session 3: Digital Inputs
Topics Covered:
- What is a breadboard?
- Understanding internal connections and layout
- How to insert and remove components safely
- Common mistakes to avoid (short circuits, loose connections)
- Best practices for clean and functional circuit assembly
Learning Outcome:
Students will gain hands-on experience using breadboards and learn how to safely and effectively set up simple circuit layouts.
Duration: 1 Hour
Session 4: Analog Inputs with DHT11
Topics Covered:
- Creating a basic circuit using an LED, resistor, and switch
- Understanding current flow from power source to load
- Connecting components properly on a breadboard
- Testing and verifying circuit functionality
- Identifying and fixing common connection issues
Learning Outcome:
Students will successfully build and test their first working circuit using basic components, gaining confidence in their practical electronics skills.
Duration: 1 Hour
Advanced Module (30 Hours)
Session 5: Displaying on OLED
Session 6: Ultrasonic Sensor Basics
Session 7: PWM & Motor Control
Session 8: Wi-Fi Basics & Thingspeak Integration
Session 9: Remote LED Control (Blynk / Web Server)
Session 10: IoT Monitoring System (Part 1)
Session 11: IoT Automation Project (Part 2)
Session 12: Final Project Development & Presentation
Projects Student Will Build

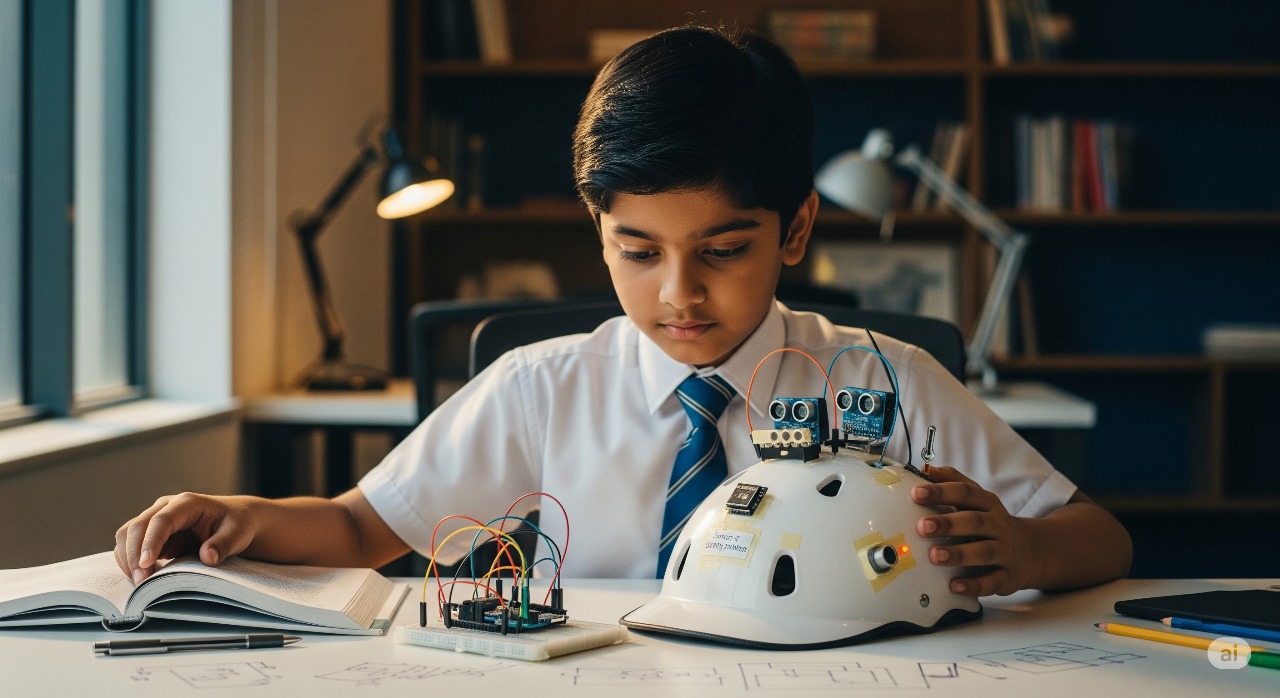
An intelligent robot that can navigate and find its way out of a maze using algorithms and sensors.
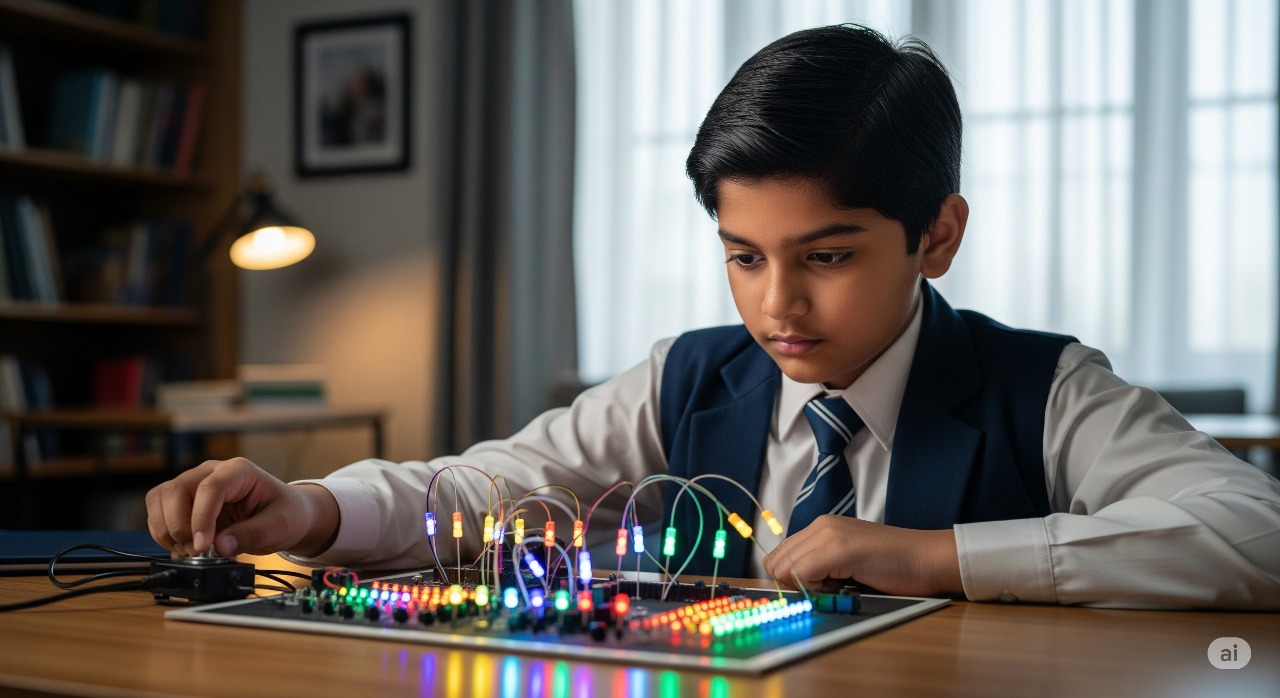
A project to design and display various LED blinking and sequencing patterns using microcontrollers.

A project to design and display various LED blinking and sequencing patterns using microcontrollers.
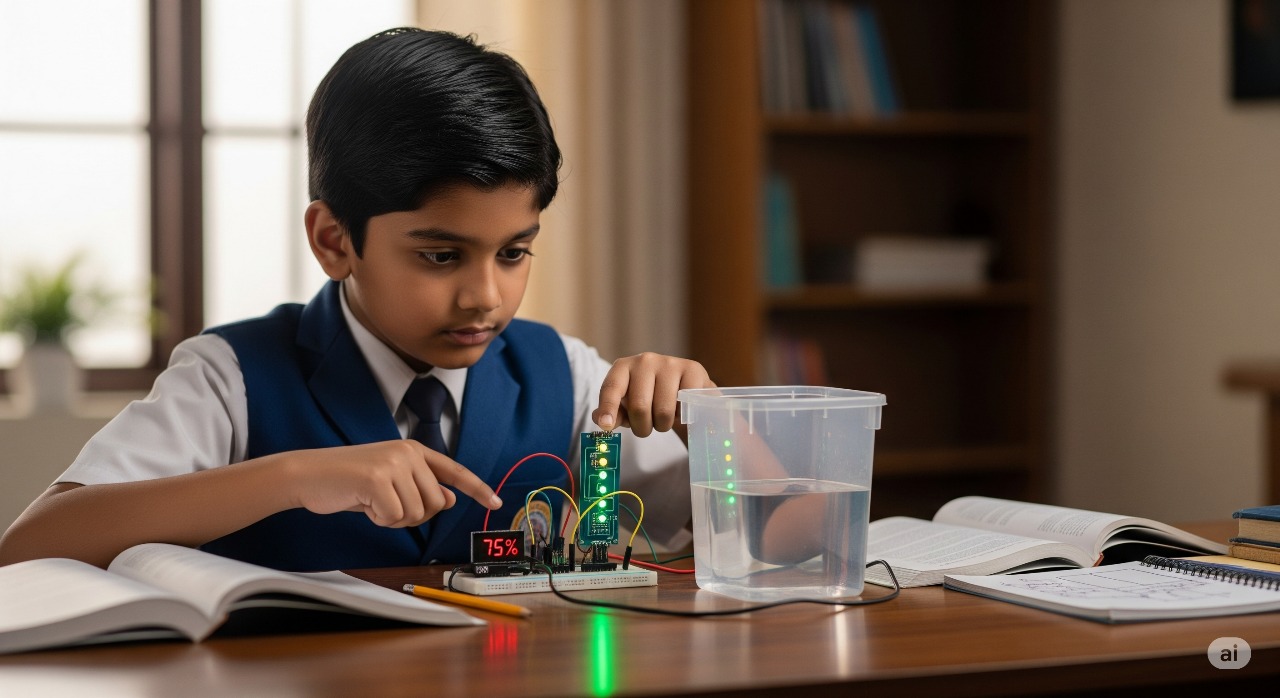
A circuit that detects and displays the water level in a tank to prevent overflow and dry runs.
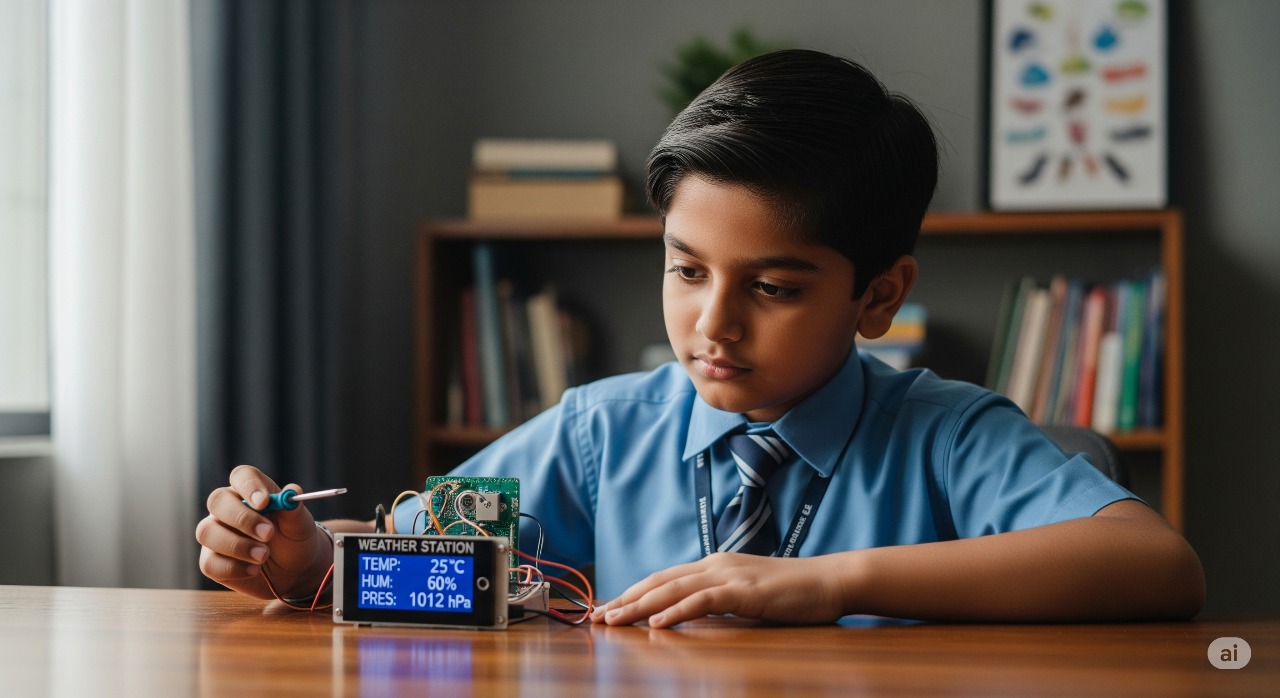
A system to monitor and display environmental parameters like temperature, humidity, and pressure.
A circuit that detects and displays the water level in a tank to prevent overflow and dry runs.
What's Included
Complete IoT Hardware Kit
NodeMCU, sensors, actuators, OLED display, and accessories.
Software & Cloud Access
Arduino IDE, Thingspeak, Blynk, and MQTT platforms.
Hands-on Projects
Weather station, smart automation, remote control, and final team project.
Learning Resources & Mentorship
Guides, sample codes, circuit diagrams, and expert support.
Testimonials / Parent Reviews
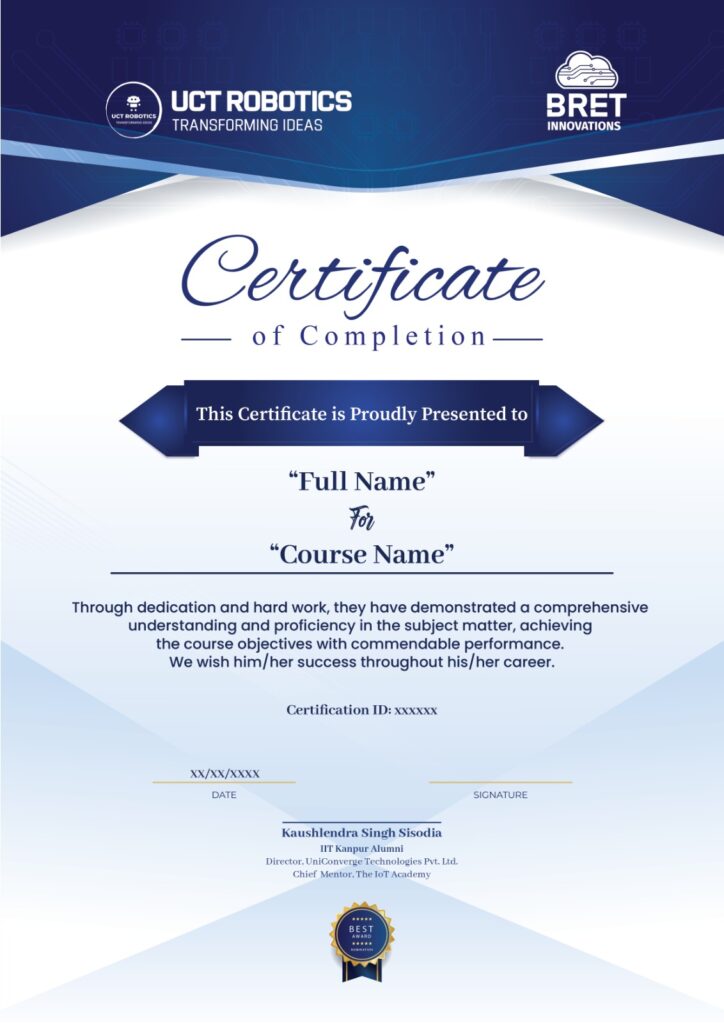
Recognized Certification
Got Questions? We’ve Got Answers!
Who can join this course?
This course is designed for students of Grade 9–10 who are curious about technology, electronics, and coding. No prior experience is required.
Do I need to know programming before joining?
No. The course starts from basics. Students will learn programming step by step using the Arduino IDE.
What will I build in this course?
You will build several projects such as LED controls, temperature & humidity monitoring, ultrasonic distance measurement, OLED displays, cloud-connected weather monitoring, and smart automation systems like a Smart Light or Automated Door.
Will I get hands-on experience?
Yes. This is a practical, project-based course where every session involves building and testing real IoT systems.
What tools and software will I use?
Students will use the NodeMCU board, sensors, actuators, and Arduino IDE for coding. For IoT integration, cloud platforms like Thingspeak, Blynk, and MQTT will be introduced.
₹15,000
₹30,000 Discount 50% off
Upcoming Session 25th Aug 2025